Purpose
|
|
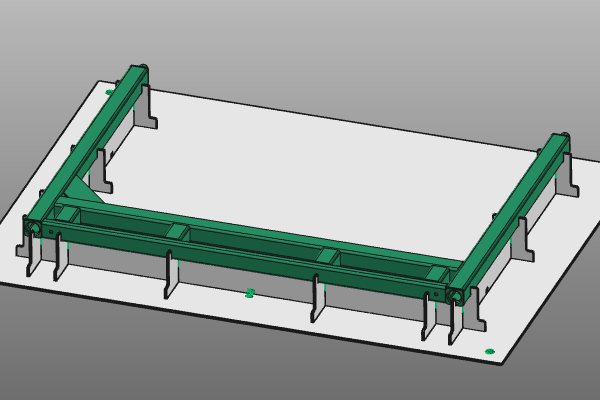
In this page we will modify the global design of the fixture. The position and size of the base plate and how to modify and to add support plates.
|
|

|
Continue with the fixture from the previous page or in case of mistakes or other problems, load the file fixture_training1_1.cendoc, which is located in the installation folder of the training material of this course.
|
|
|
|
Steps
|
|

|
Be sure to save your changes frequently.
|
|
|
|
|
1.1
|

|
Use the manipulator to modify the position and orientation of the base plate, relative to the workpiece. With the Update command, at the center of the manipulator, the fixture will be re-computed.
|
|
1.2
|

|
Open the pie menu on the base plate and select the Resize the base plate command. A panel appears with the dimensions of the plate. Change them and click in the empty 3D space to update the plate to the new size.
|
|
|
2
|
Modify the support plates
|
|
2.1
|

|
Select the support plate X1 and open the pie menu. Start the Move support plate command and drag the plate with use of the manipulator's axis to the desired position under the workpiece.
The move functionality remains open after dragging, to continue with any other new move operation. Termination of the Move command is done by pressing the ESC-key on your keyboard or by starting another command.
Repeat the same operation for the support plate X2.
|
2.2
|

|
Pick the X2 support plate and run the Split support plate command.
Split the X1 support plate also.
|
2.3
|

|
Move the manipulator to a position where a new support plate is wanted. On its axis, open the command Add support plate with given length. A small panel appears to enter the length of the plate of 150mm. Then click in the 3D space to execute the computation of the plate.
Repeat the operation to add a second support plate with given length of 80mm.
|
2.4
|

|
Placez la boussole à une autre position pour obtenir une plaque de support supplémentaire. Exécutez la commande Ajouter une plaque support pour construire une nouvelle plaque de longueur maximale.
|
2.5
|

|
To cut back the length of the support plate, place the manipulator at the base of the plate, on the side you want to reduce. Open the Resize the support plate command and drag the manipulator to the wanted position. The plate is recomputed.
The command remains active until the ESC-key has been pressed, or another function has been started.
|
2.6
|

|
Repeat the last two steps at the long tube at the other side of the workpiece.
|
2.7
|

|
When starting the Add support plate (with given length) command on the center of the manipulator, a new plate is created in both the X- and Y-direction.
|
|
|
|
|
3.1
|

|
Do not forget to save the changes that are made to the fixture.
|
|