Purpose
|
|
This chapter shows two more examples of basic spraying projects.
|
|
|
Example 1
|
|

|
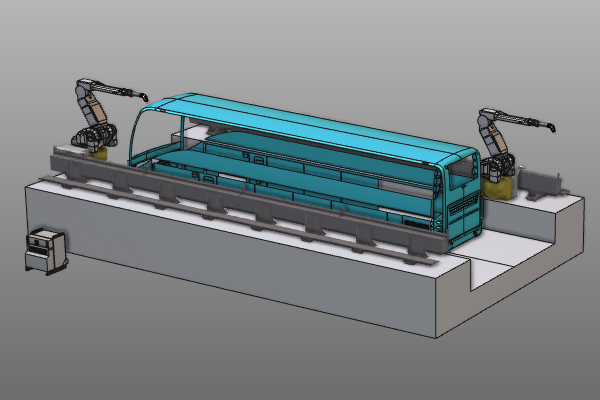
This example uses the rail kinematics to move the robot further down the workpiece.
|
|
|
|
Steps
|
|
|
|
|
1.1
|

|
Open the file Rail_Interpolation.cendoc, which is located on the installation drive of this manual.
|
1.2
|

|
Open the Teach panel and modify the position of the track in the 4 corners of the operation. Ignore the approach and retract positions.

|
1.3
|

|
To make better use of the rail, add an external axis interpolation.

|
1.4
|

|
Run a simulation to verify the new results.

|
|
|
|
Example 2
|
|

|
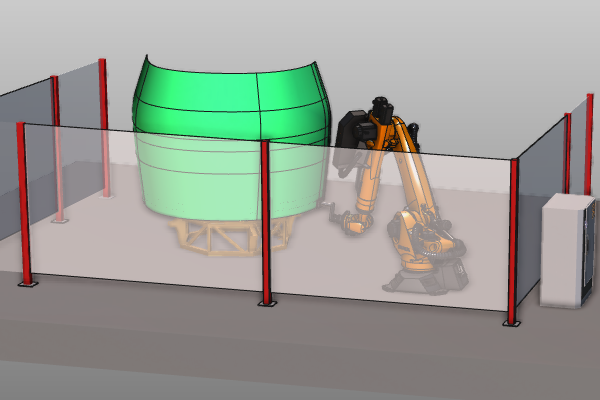
This example uses the kinematics of the workpiece positioner.
|
|
|
|
Steps
|
|
|
|
|
2.1
|

|
Open the file Positioner_Interpolation.cendoc, which is located on the installation drive of this manual.
|
|
2.2
|

|
Simulate the programmed toolpath that already exists in the project.

|
|
2.3
|

|
Open the Teach panel and modify the position of your track on the right side of the workpiece. Ignore the approach position.

|
2.4
|

|
Modify the position of your track on the left side of the workpiece. Ignore the approach position.

|
2.5
|

|
To make better use of the positioner, add an external axis interpolation between the tracks on the surface.

|
2.6
|

|
Run a simulation to verify the new results.

|
|
|