Purpose
|
|
In this chapter you will create a surface operation and optimize it.
|
|

|
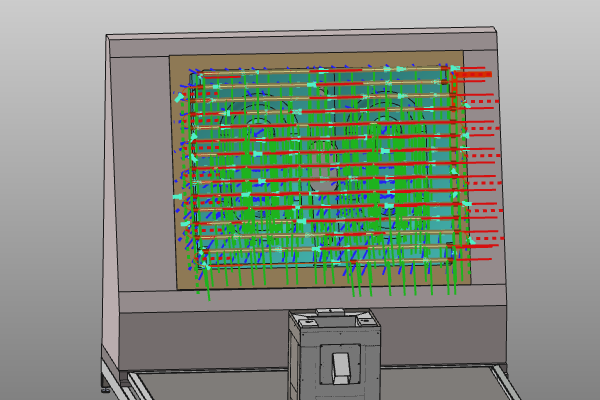
The cleaning surface will be programmed. Various methods are shown to program and optimize the individual tracks of the toolpath.
|
|
|
Steps
|
|

|
Be sure to save your changes frequently.
|
|
|
1
|
Preparation (if needed)
|
1.1
|

|
Switch to the Offline Programming workbench.

|
|
|
2
|
Create the surface operation
|
2.1
|

|
Program the cleaning surface with use of the track strategy mode Parallel plane. This algorithm offers many attributes to specify how the toolpath is being calculated.
|
|
2.2
|

|
Have a look at the other strategies to calculate the toolpath to see the differences how the tracks are computed. This tutorial however continues based upon the Parallel plane calculation of the toolpath.
 Geodesic by plane Geodesic by plane
|
|
|
|
|
3.1
|

|
open the Toolpath dashboard to see the number of tool positions along the path. We will reduce that number in the next steps.
|
|
3.2
|

|
Open the Active program dashboard. Change the approximation attributes to reduce the number of positions.
|
|
|
|
4
|
Technology optimization
|
|
4.1
|

|
Change the gun activation modes. Start the simulation to see the differences.
|
|
4.2
|

|
Smooth the robot movement by editing the Accuracy and Speed attributes.
|
|
|
|
|
5.1
|

|
Rotate the global track orientation.
|
|
5.2
|

|
Change the distance between the individual tracks.
|
5.3
|

|
Increase the process area to generate a global overrun of the in-process area. Pressing the small edit icon resets the attribute to its initial value.
|
5.4
|

|
Extend or shorten the in-process part of the tracks at a single side.
|
5.5
|

|
Add or remove tracks at the beginning or end of the programmed cleaning surface.
|
5.6
|

|
Change the off-process movement between the tracks.
|
5.7
|

|
Define how to bridge over gaps in the cleaning surface.
|
|
|
|
|
6.1
|

|
Generate the program to be downloaded to the robot controller.
|
|
|
|
|
7.1
|

|
Save the project under an appropriate name.
|
|
|
|