Preparation
|
|
This chapter describes how to create your own downloader. This base is very useful before moving on to the manufacturer and technology-specific implementations.
|
|
|
Precondition
|
|
It goes without saying that a base understanding of scripting in Python is essential to build your own translators. In this documentation you will find a chapter to introduce the Python scripting in FASTSUITE Edition 2.
|
|

|
Python scripting introduction
|
|
|
Furthermore it is recommended to have some experience and knowledge of working with FASTSUITE Edition 2, in particular with the OLP environment and the specific technology for which the translator has to be generated. In this documentation you will find several tutorials to guide you through the user interface and functionality.
|
|
|
Setup
|
|
The following steps have to be taken before you can start to create your first own downloader.
|
|
1
|
Setup FASTSUITE Edition 2
|
|
1.1
|
Download and install FASTSUITE Edition 2.
|
1.2
|
Get familiar with the applications when necessary.
Check the documentation for latest information and tutorials.
|
1.3
|
Download the translator example and unpack it on your disk.
|
1.4
|
Start Edition 2 and configure the example plugin.
|
1.5
|
Optional.
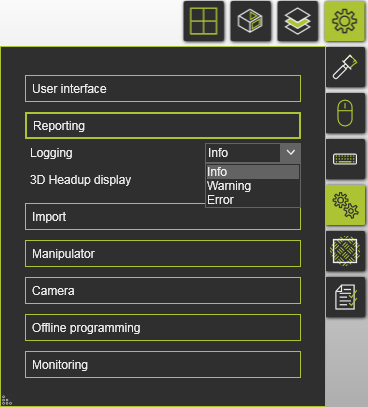
For development purposes, it is recommended to change the logging level to Info.
|
|
|
|
|
2.1
|
Open a sample workcell. Such a sample can be taken from one of the tutorials, to be downloaded from:
Or load it from the standard component and layout library, available at:
|
2.2
|
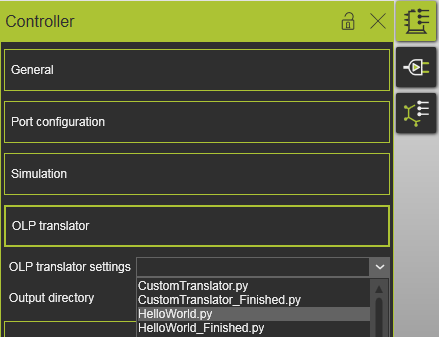
Select the translator.
After creating a sample workcell, choose the translator.
Go to the Controller builder workbench and open the Controller properties dashboard. If you did set up the system correctly, the translator HelloWorld.py should appear in the list.
|
2.3
|
Define the output directory.
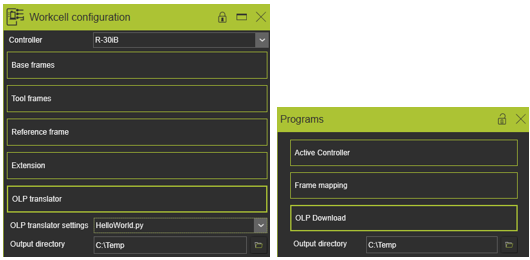
An output directory must be specified so that the compiler knows where to write the files.
The output directory can be defined in the same dashboard as being opened in the previous step.
Alternatively it can also be defined in the Workcell configuration dashboard of the Layout builder workbench or the Programs dashboard of the OLP workbench.
|
2.4
|
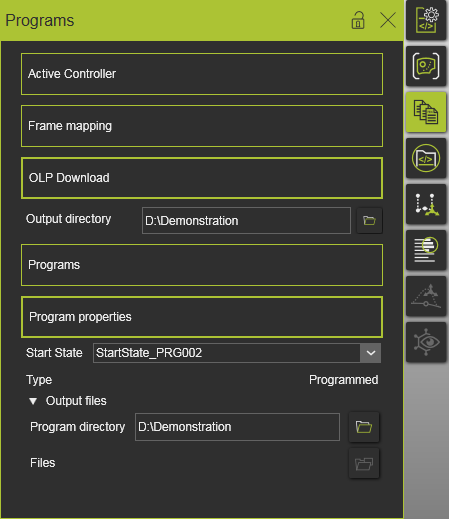
Troubleshooting.
If the download fails, please check the Program directory in the Programs dashboard. When a path is written there, it has to be the same as the path in the Output directory.
|
2.5
|
Save the workcell after specifying the translator and output directory.
|
|
|
3
|
Configure Visual Studio Code for debugging
|
|
3.1
|
Download and install Microsoft Visual Studio Code.
|
3.2
|
Run Visual Studio Code.
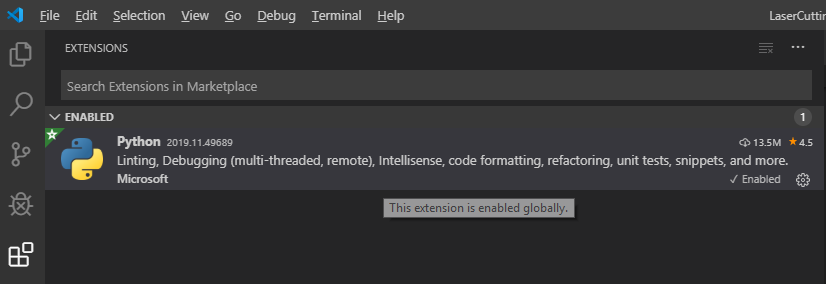
Verify that the Python extension has been installed. The extension can be found here:
|
3.3
|
Install the recommended extensions:
 Python (Pylance included); a must-have extension that includes features such as IntelliSense (Pylance), linting, debugging, code navigation, code formatting, refactoring, variable explorer, test explorer, and more. Python (Pylance included); a must-have extension that includes features such as IntelliSense (Pylance), linting, debugging, code navigation, code formatting, refactoring, variable explorer, test explorer, and more.
 Code Spell Checker; a must-have basic spell checker. Code Spell Checker; a must-have basic spell checker.
 autoDocstring - Python Docstring Generator; to quickly generate docstrings for python functions and classes. autoDocstring - Python Docstring Generator; to quickly generate docstrings for python functions and classes.
 Indent-Rainbow; a simple extension to make indentation more readable. Indent-Rainbow; a simple extension to make indentation more readable.
 Python Indent; corrects the Python indentation. Python Indent; corrects the Python indentation.
|
3.4
|
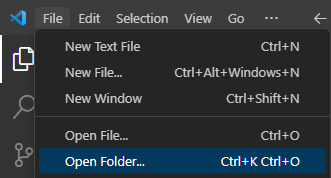
Open the folder Custom_E2_Plugin from the location where the plugin has been stored.
|
3.5
|
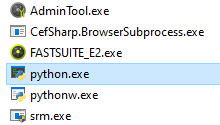
FASTSUITE Edition 2 comes with an embedded Python version. To get access to the debug information and the Python libraries coming with the installation, it is necessary to set in VS Code the python.exe from the Edition 2 installation path.
Click on the Python interpreter at the bottom right corner, next to the language selection mode.

Enter the path manually or browse to the FASTSUITE Edition 2 installation path and select the python.exe.
|
|
|
4
|
Configure FASTSUITE Edition 2 for debugging
|
|
4.1
|
Please close all open FASTSUITE E2 instances before performing the following steps.
|
4.2
|
To enable the Python debugging, go to the FASTSUITE E2 installation folder and open the cenpyinit.py file in a text editor.
At line 9, change the variable enablePythonDebug = False to True.

Do not forget to save the chance!
|
4.3
|
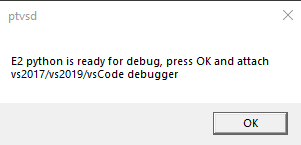
Start FASTSUITE Edition 2 and wait for the debugger to be ready to attach.
|
4.4
|
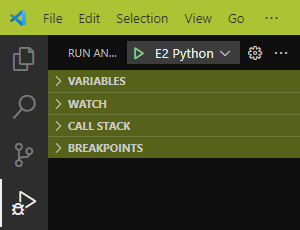
Go to VS Code and press F5 or execute the attaching manually by clicking on the Start Debugging button.
|
4.5
|
When everything worked well, the status bar at the bottom of VS Code window turns to green.

|
4.6
|
Load your scenario and press the Download button in the OLP workbench. You should now be able to debug your translator code.
|
|
|