Purpose
|
|
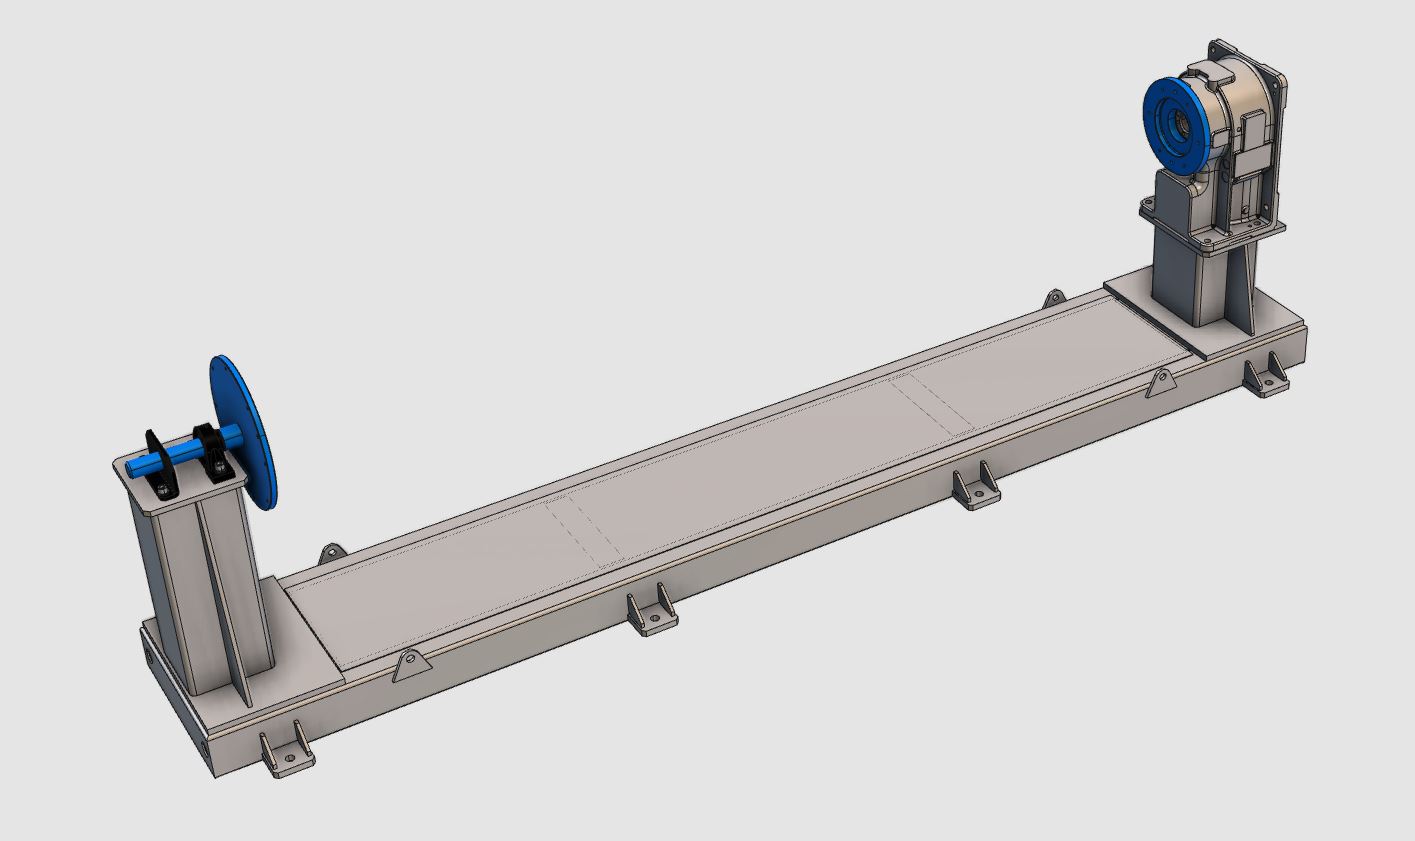
Use the Resource Builder workbench to easily build a workpiece positioner.
|
|

|
The geometry of the workpiece positioner will be imported from an external file to build the positioner. To be able to use the positioner in a workcell and to load the workpiece into it, it will be completed with the appropriate information.
|
|
|
|
Steps
|
|
1
|
Preparation
|
1.1
|

|
Switch to the Resource Builder workbench.

|
|
1.2
|

|
Create a new, empty document.
If another document is already open in the running session, this step has to be executed. If not, this step can be skipped

|
|
|
2
|
Define the positioner resource
|
|
2.1
|

|
Import the geometry from the file Positioner.x_b, which is located on the installation drive of this manual.
|
|
2.2
|

|
Create a new workpiece positioner type resource for this imported positioner.
|
|
2.3
|

|
Create the kinematic skeleton of the positioner. The positioner will have a (synchronous) rotational movement.
|
|
|
3
|
Build the positioner resource shape
|
3.1
|

|
Attach the frame part of the imported geometry to the base, fixed part, of the positioner resource.
|
|
3.2
|

|
Attach the rotation clamps of the positioner geometry to the rotational joint of the positioner resource.
|
|
|
4
|
Create the clamp adapter
|
The clamp adapter is used later on to fixate the workpiece in the positioner. It secures that the workpiece will rotate along with the positioner's rotation during simulation.
|
4.1
|

|
Define a parent adapter on the rotation clamp.

|
|
|
5
|
Define the positioner properties
|
5.1
|

|
Give an appropriate name to the positioner resource. And define the properties of the adapter and frame.

|
|
5.2
|

|
Define the kinematic limits of the positioner.

|
|
5.3
|

|
Define the home positions of the positioner.

|
|
|
|
|
6.1
|

|
Save the workpiece positioner.

|
|
|
|

|
Be sure to save your data frequently.
|
|
|