Purpose
|
|
Learn to setup a new reference base frame for the cutting project
|
|

|
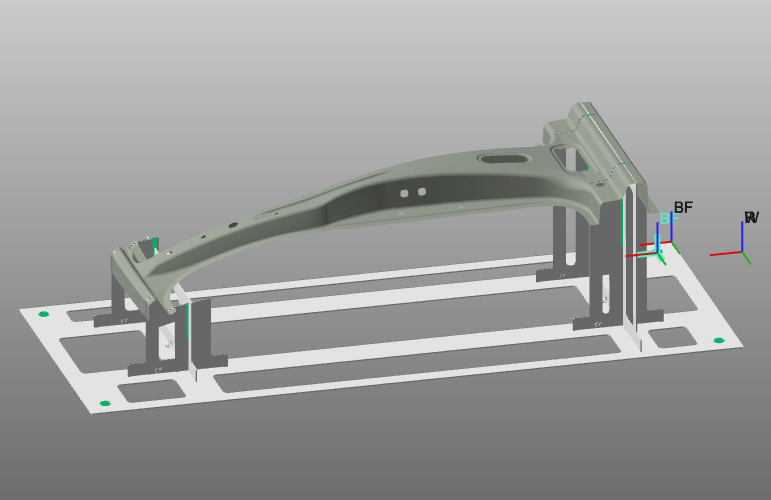
Load the project Training_LaserCutFeatures.cendoc from the Projects folder of this tutorial library.
|
|
|
Steps
|
|
1
|
Base frame
|
1.1
|

|
Verify the project setup. The tool frame should be located at the focal point of the laser beam. The base frame represents the origin of your new program.
|
|
1.2
|

|
Add a new base frame to the project.
|
1.3
|

|
Position the newly created base frame in the center of the fixture hole. Use the manipulator's picking commands.
|
1.4
|

|
Rename the base frame for easy recognition.
|
1.5
|

|
Set this base frame active as reference for the cutting program.
|
|
|