|
This step can only be completed when the running license package includes the Layout Builder workbench.
|
|
|
Purpose
|
|
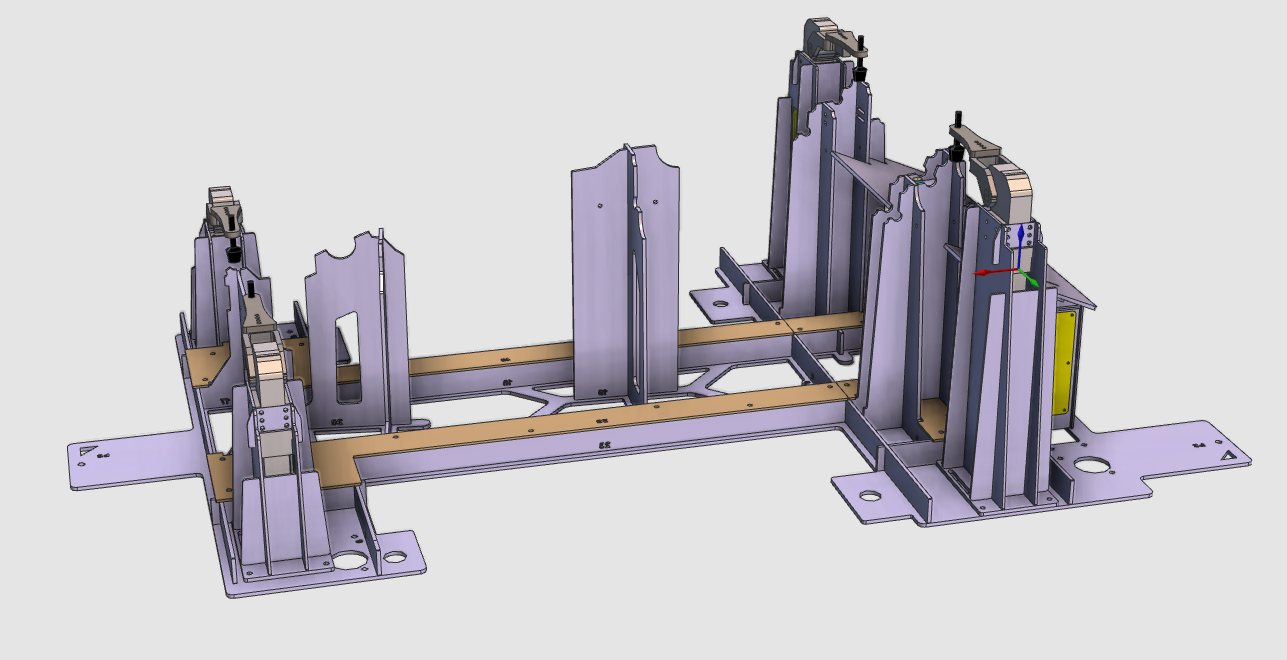
The fixture assembly will be built from the individual components.
|
|

|
The fixture carrier and a number of instances of the clamp are brought together and positioned correctly to build the complete fixture assembly.
|
|
|
|
Steps
|
|
1
|
Preparation
|
Depending on the license package that is used:
|
1.1
|

|
Switch to the Layout Builder workbench.

|
Or

|
Switch to the Offline Programming workbench.

|
|
1.2
|

|
Create a new, empty document.
|
|
1
|
Click on the File command in the upper document toolbar. A drop down menu opens.
|
 
|
|
2
|
Click on the New command.
|
 
|
|
3
|
If a document is already open, a message appears to decide to save that document, close it without saving or to cancel the execution of the New command.
|

|
|
|
|
|
|
|
2
|
Build the fixture assembly
|
|
2.1
|

|
While switching to any workbench, the Operation mode Normal is set active automatically. When working in the Offline Programming workbench, one has to switch to the Operation mode Drag & snap to be able to move the individual components in the fixture assembly.
|
2.2
|

|
Add the previously created fixture carrier and fixture clamps (.cenres) to the layout.
|
2.3
|

|
Because all 4 clamps appear at the same position, it is convenient to move them apart.
|
2.4
|

|
Then position each clamp in the fixture at its location.
|
|
|
3
|
Save
|
3.1
|

|
When working in the Offline Programming workbench, you cannot save a layout. To continue with this course, directly step to Build the workcell in Chapter 3: Add the workpiece to the layout ...  . .
Otherwise continue here with saving the layout.
|
3.2
|

|
Save the layout under a new name.

|
|
|
|

|
Be sure to save your data frequently.
|
|
|